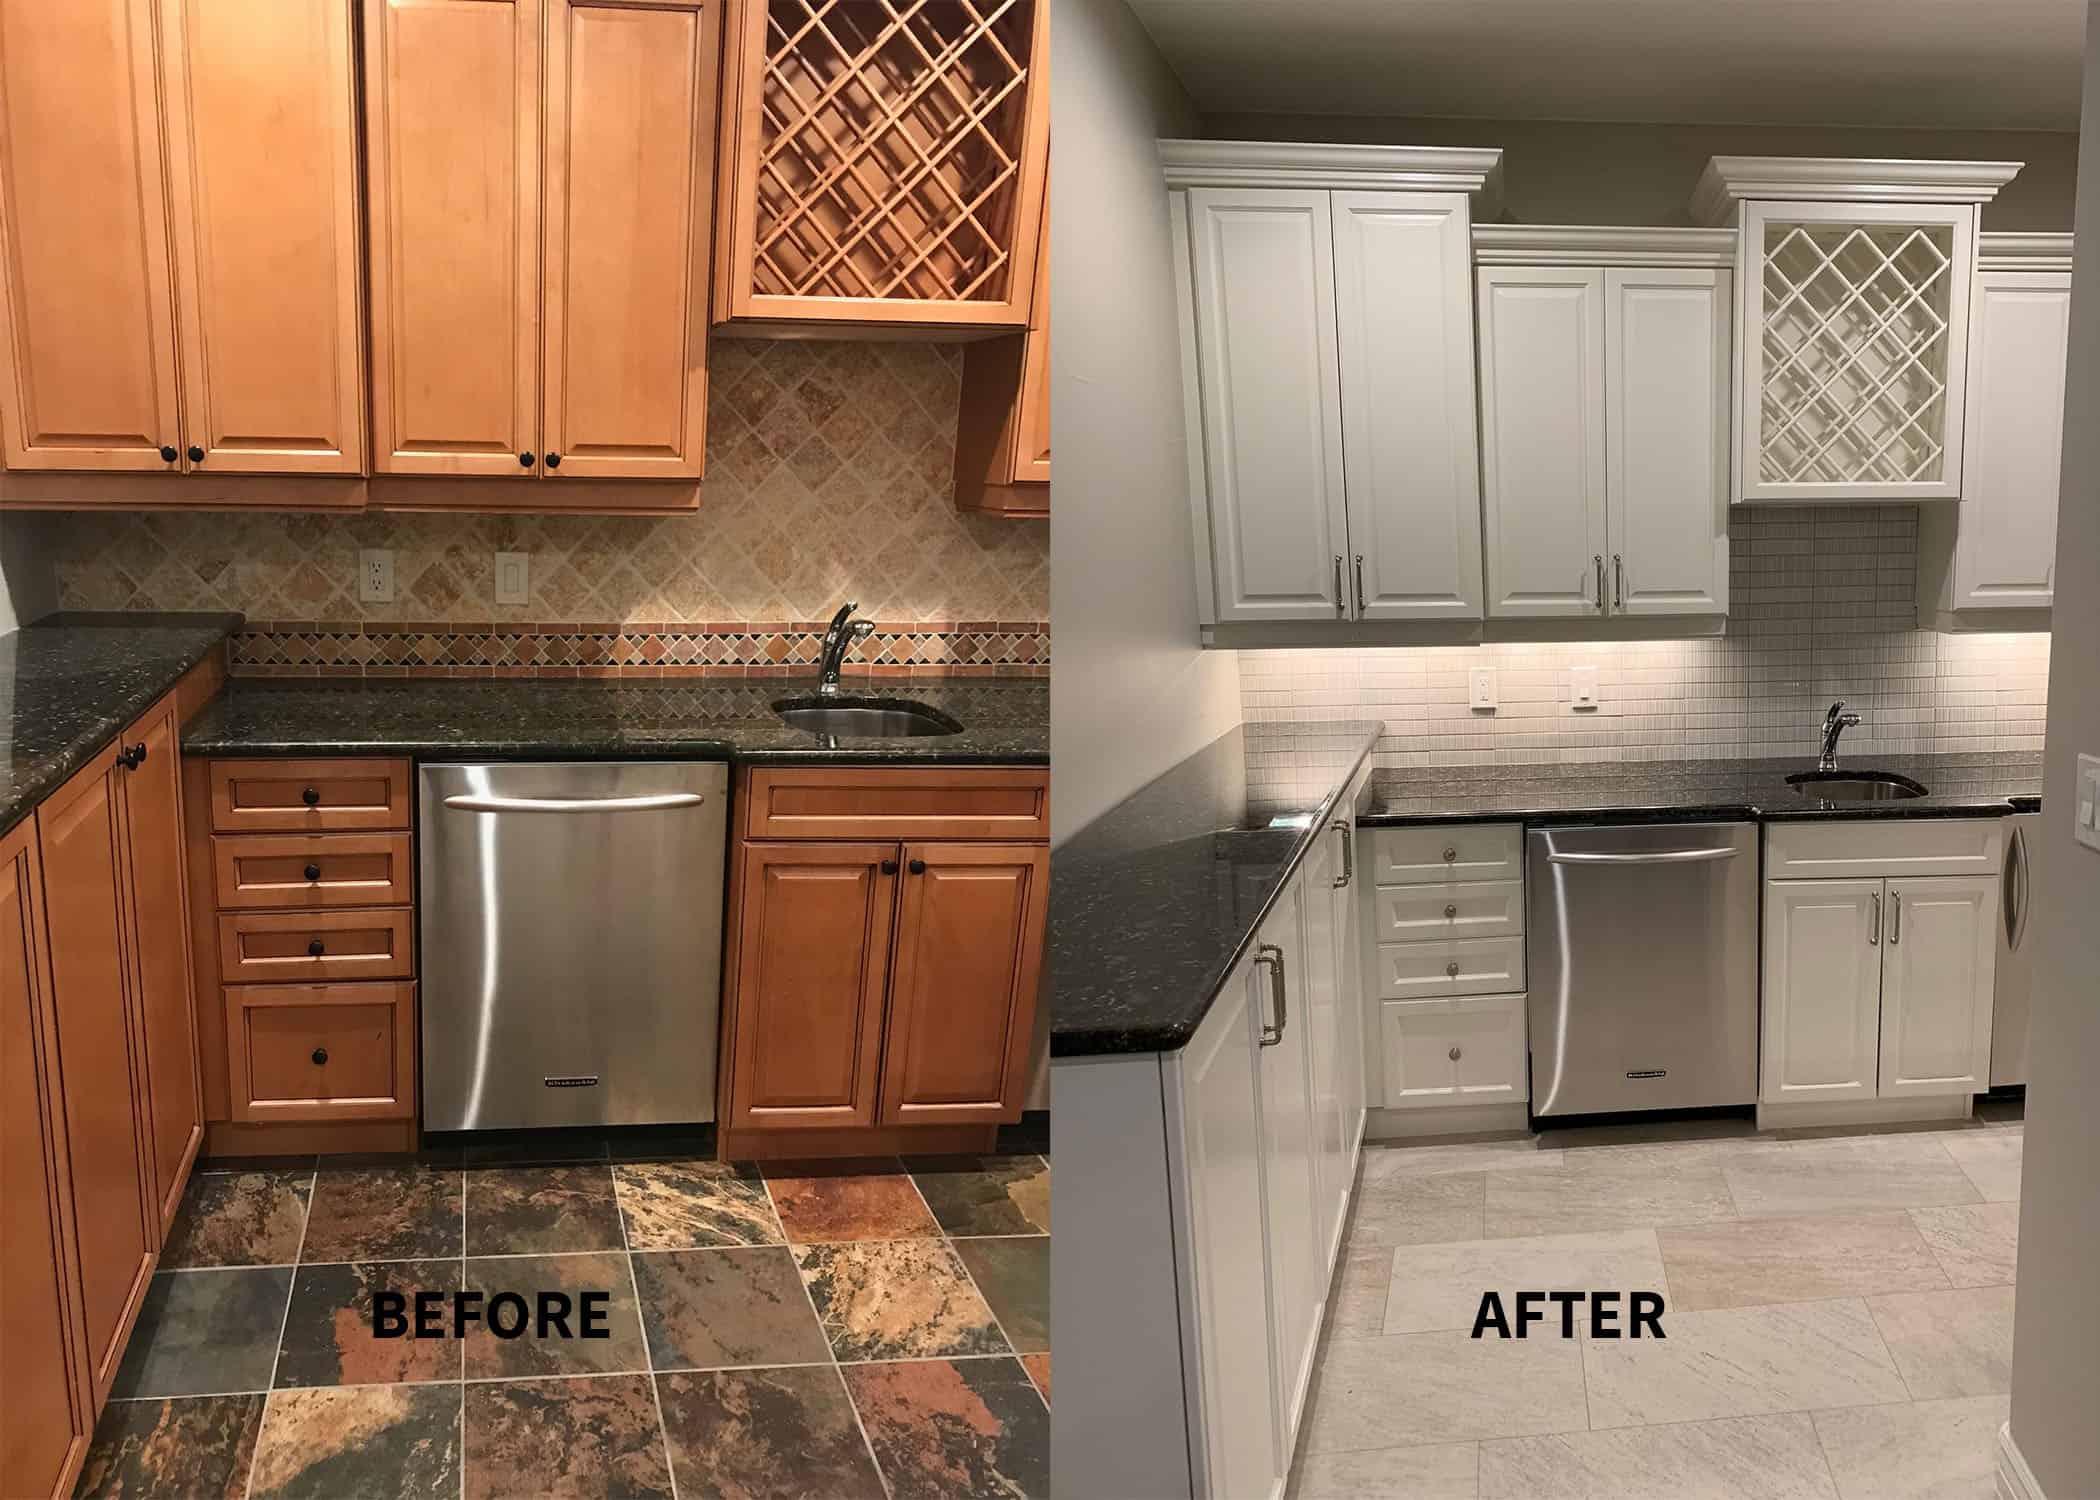
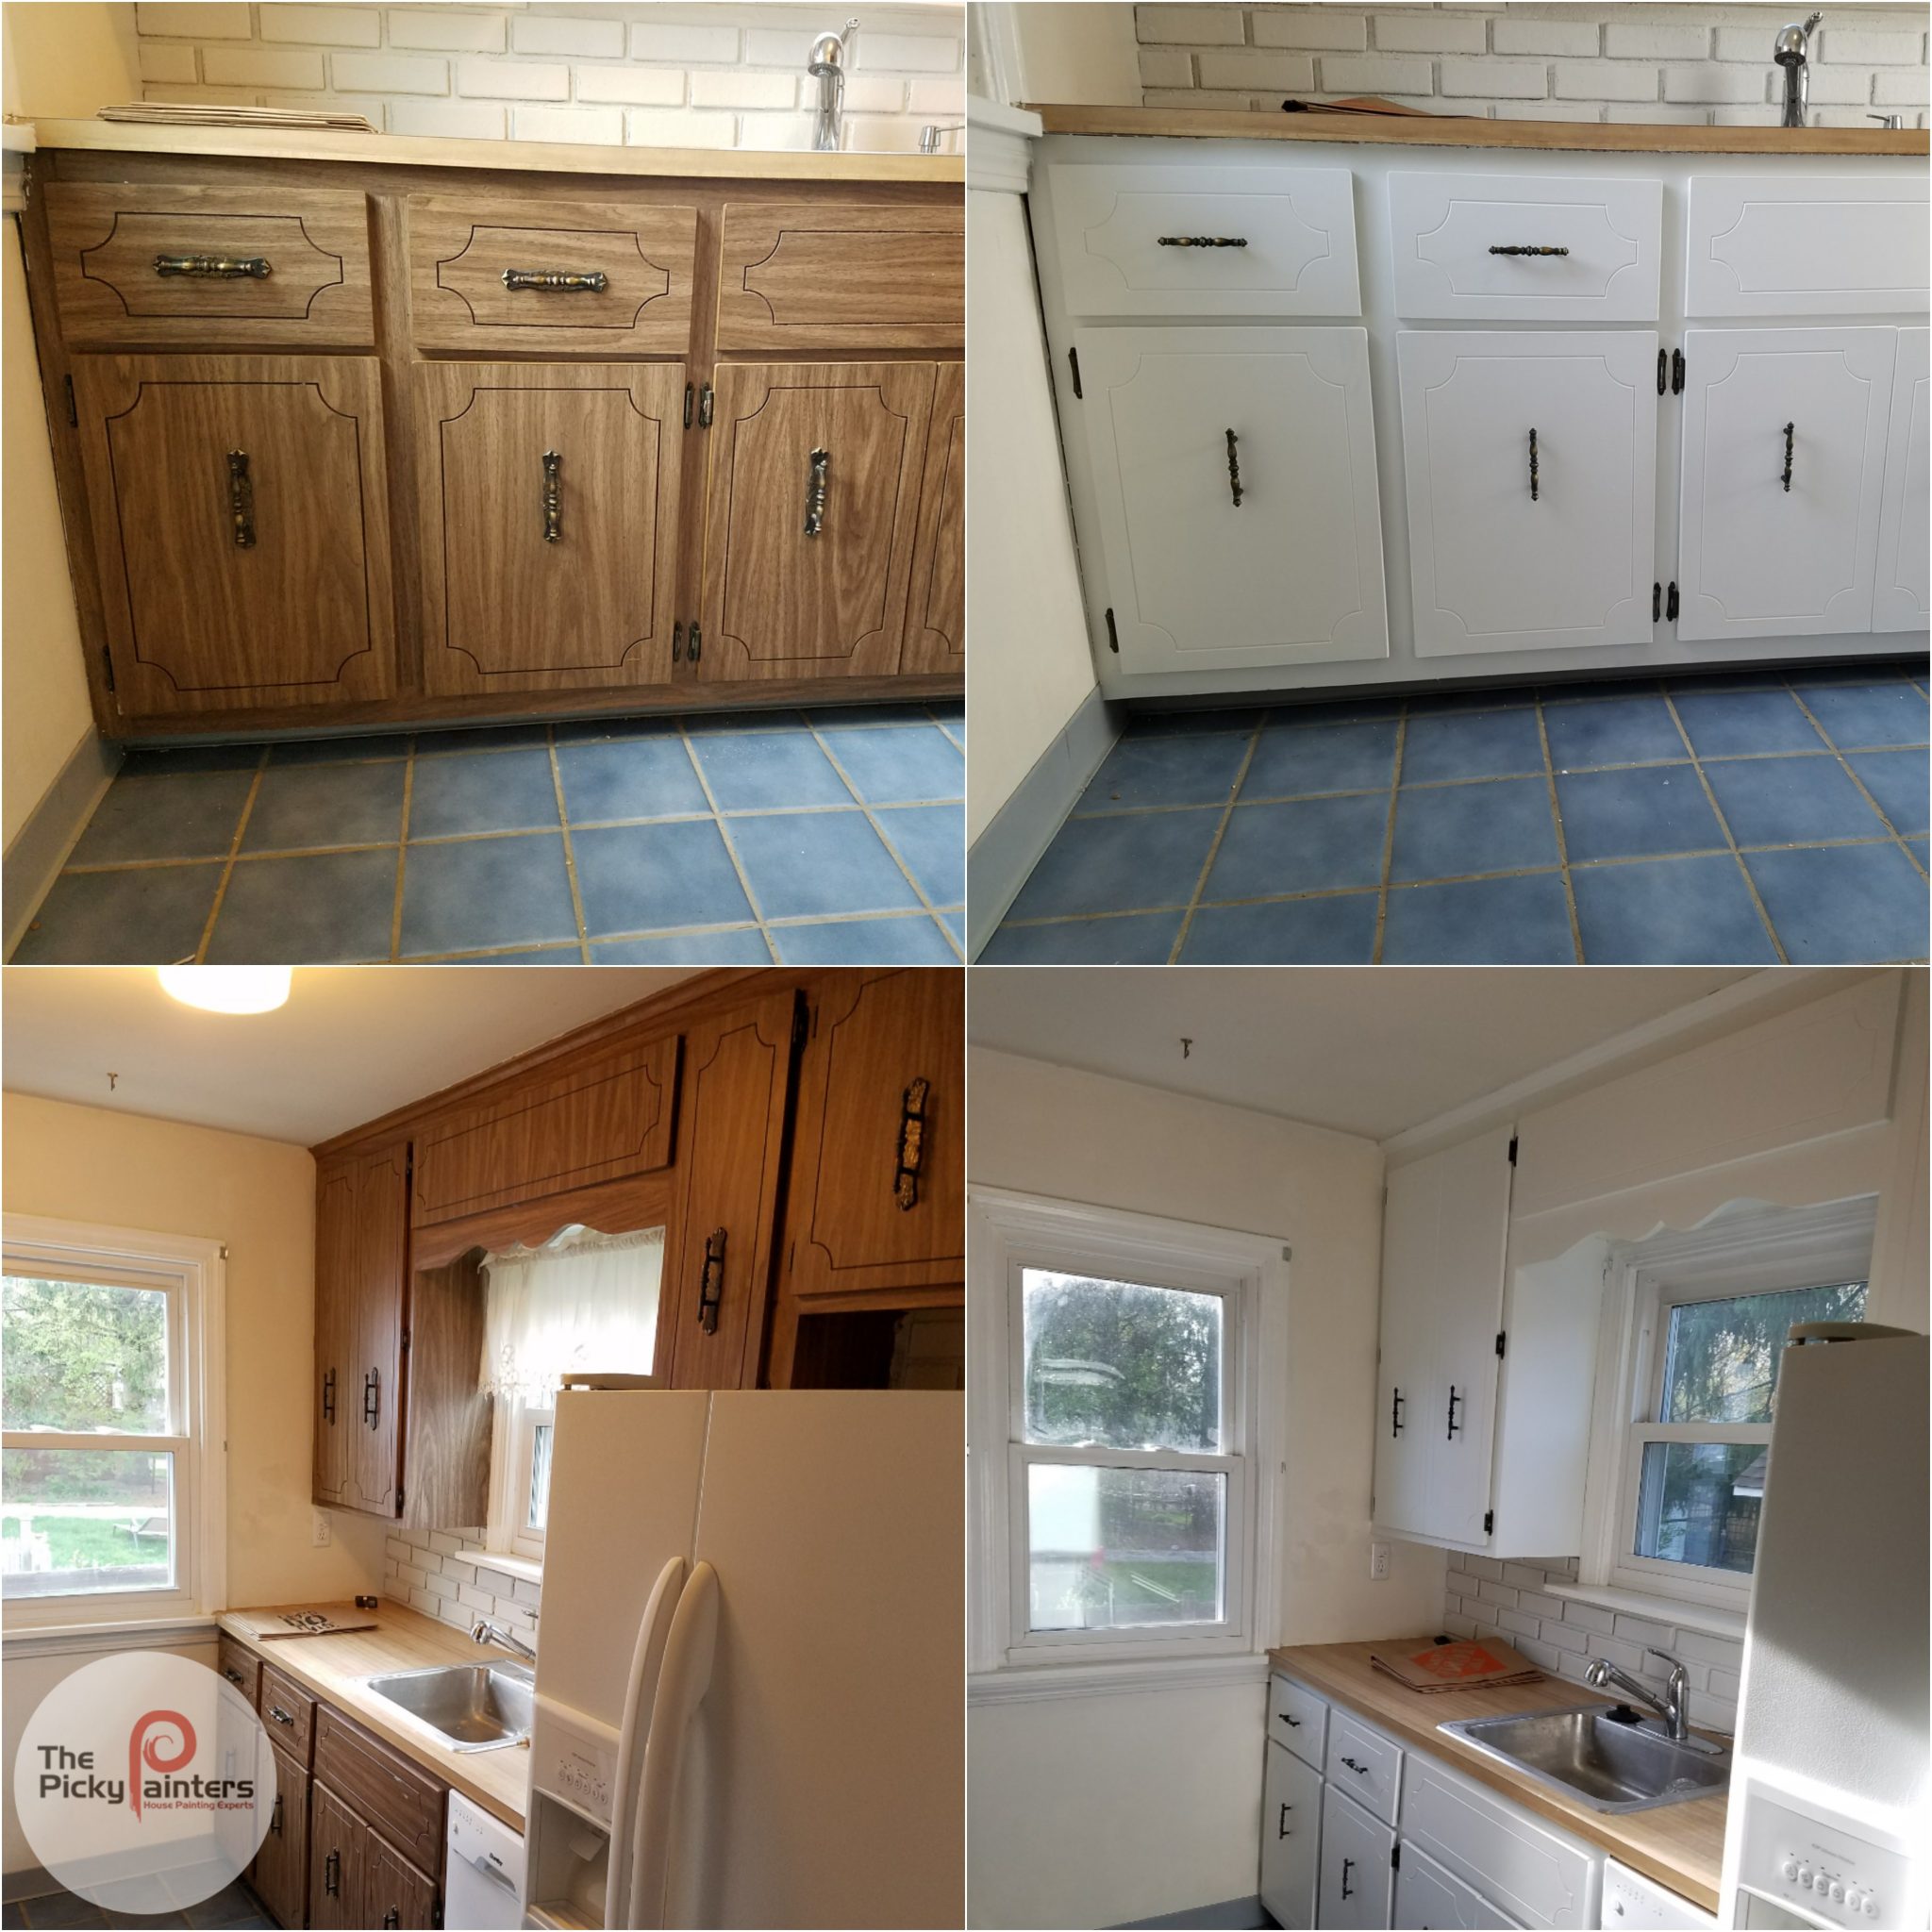
Choosing the Right Veneer for Painting Cabinet Doors: Painting Veneer Cabinet Doors

Selecting the appropriate veneer for painting cabinet doors is crucial for achieving a high-quality, durable finish. The choice impacts not only the final aesthetic but also the cost and the ease of the painting process itself. Understanding the properties of different veneer types allows for informed decision-making, leading to a superior outcome.
Veneer Types Suitable for Painting
Different veneer types possess unique characteristics that influence their suitability for painting. Oak, maple, and cherry are popular choices, each offering advantages and disadvantages. Oak, known for its strong grain and durability, provides a robust base for paint, though its prominent grain might require more preparation. Maple, with its tighter, smoother grain, offers a more uniform surface, simplifying the painting process. Cherry, prized for its rich color, presents a unique challenge as its inherent color might show through paint, demanding careful priming. Other veneers, like birch or poplar, offer cost-effective alternatives with varying grain patterns.
Veneer Properties Comparison, Painting veneer cabinet doors
The following table summarizes the key properties of several veneer types commonly used for painted cabinet doors:
| Veneer Type | Grain Pattern | Paint Adhesion | Cost |
|---|---|---|---|
| Oak | Prominent, open grain | Good, requires thorough preparation | Medium-High |
| Maple | Fine, tight grain | Excellent | Medium |
| Cherry | Medium grain, sometimes with figure | Good, may require stain blocking primer | High |
| Birch | Fine, even grain | Excellent | Low-Medium |
| Poplar | Smooth, relatively open grain | Good | Low |
Preparing Veneer for Painting
Proper surface preparation is paramount for optimal paint adhesion and a flawless finish. The process varies slightly depending on the veneer type, but the fundamental steps remain consistent.
Before commencing painting, several crucial steps must be taken to ensure a smooth, even finish:
- Cleaning: Thoroughly clean the veneer surface to remove dust, debris, and any existing finishes using a suitable cleaner. A tack cloth is essential for final dust removal.
- Sanding: Sanding smooths the surface, improving paint adhesion. Start with a coarser grit (120-150 grit) sandpaper, gradually moving to finer grits (220-320 grit) to achieve a smooth finish. Always sand with the grain to avoid scratching the veneer.
- Filling: Fill any imperfections, such as knots or gaps, with wood filler designed for veneer. Allow the filler to dry completely and sand it flush with the surface.
- Priming: Apply a high-quality primer specifically designed for wood. This seals the wood, prevents bleed-through (especially important with cherry), and provides a better base for the topcoat paint.
Cost-Effectiveness of Veneer Types
The cost-effectiveness of different veneer types for painted cabinet doors depends on several factors, including the initial cost of the veneer itself, the amount of preparation required, and the overall labor involved. Generally, poplar and birch offer the most budget-friendly options, requiring less extensive preparation than oak or cherry. However, the higher initial cost of cherry or oak might be offset by their superior durability and longevity, making them a worthwhile investment in the long run. For example, while poplar might be cheaper upfront, the extra labor needed to manage its more open grain might balance out the cost savings. A detailed cost analysis, including material and labor, is recommended before making a final decision.
Painting Techniques and Finishes for Veneer Cabinet Doors
Transforming your veneer cabinet doors with a fresh coat of paint can dramatically enhance your kitchen or bathroom’s aesthetic appeal and overall value. This process, while seemingly straightforward, requires careful attention to detail to achieve a professional, long-lasting finish. Understanding the right techniques and finishes is key to success.
Step-by-Step Guide to Painting Veneer Cabinet Doors
Painting veneer requires a meticulous approach to ensure the paint adheres properly and the final result is smooth and even. Preparation is paramount, and the right tools and materials will significantly impact the quality of your work. Follow these steps for optimal results.
- Clean the Surface: Begin by thoroughly cleaning the cabinet doors with a degreasing agent to remove any dirt, grease, or grime. This ensures proper paint adhesion. Allow them to dry completely.
- Sanding: Lightly sand the veneer surface with fine-grit sandpaper (220-grit or higher) to create a slightly rough texture for better paint adhesion. Wipe away sanding dust with a tack cloth.
- Prime the Doors: Apply a high-quality primer specifically designed for adhesion to smooth surfaces like veneer. This step is crucial for preventing the wood grain from showing through the paint and ensuring a uniform finish. Apply thin, even coats, allowing each coat to dry completely before applying the next. Two coats are generally recommended.
- Paint Application: Choose your preferred application method: brushing, spraying, or rolling. Brushing provides good control but can leave brushstrokes. Spraying offers a smooth finish but requires proper ventilation and safety equipment. Rolling is efficient for large surfaces but may leave a slightly textured finish. Apply thin, even coats, allowing each coat to dry completely before applying the next. Two or three coats are typically needed for full coverage.
- Sanding Between Coats (Optional): For a perfectly smooth finish, lightly sand between coats with very fine-grit sandpaper (320-grit or higher). This removes any imperfections and creates a flawless surface for the next coat. Remember to remove all sanding dust with a tack cloth.
- Final Inspection: Once the paint is completely dry, inspect the doors carefully for any imperfections. Address any issues with light sanding and touch-up paint as needed.
Paint Finishes: Benefits and Drawbacks
The choice of paint finish significantly impacts the final look and durability of your painted veneer cabinet doors. Consider the following options carefully:
- Matte: Offers a subtle, understated look, hiding imperfections well. However, it’s less durable and more prone to scratches than other finishes. It’s ideal for a more rustic or traditional aesthetic.
- Semi-Gloss: Provides a balance between durability and aesthetic appeal. It’s easier to clean than matte finishes and more resistant to scratches, making it a popular choice for kitchens and bathrooms. It offers a slightly reflective surface.
- High-Gloss: Offers the most durable and easily cleanable finish. It creates a sleek, modern look, but it also highlights any imperfections in the surface. It’s a good choice for a contemporary design.
Achieving a Smooth, Professional Finish
Achieving a flawlessly smooth finish on painted veneer doors requires attention to detail and proper technique. Addressing common issues proactively is crucial.
To minimize brushstrokes, use high-quality brushes, apply thin coats, and work in the same direction. For drips, ensure your paint isn’t too thick and allow ample drying time between coats. Uneven color can result from inadequate priming or uneven paint application; ensure proper surface preparation and consistent paint application. Using a sprayer can significantly reduce these issues, though proper technique is still necessary. A final light sanding with very fine-grit sandpaper followed by a thorough cleaning can further refine the finish, creating a professional-looking result that will last for years.
Design Considerations and Project Planning for Painted Veneer Cabinet Doors

Transforming your kitchen or bathroom with freshly painted veneer cabinet doors is a rewarding project that can dramatically update your space. Careful planning and design choices will ensure a professional-looking finish that adds value and style to your home. This section details key considerations for design and project execution.
Three Painted Veneer Cabinet Door Styles
Choosing the right style is crucial for achieving your desired aesthetic. Here are three distinct designs to inspire your project:
Style 1: Modern Minimalist
This style emphasizes clean lines and a neutral color palette. Imagine sleek, flat-panel doors painted in a soft, matte white or a sophisticated gray. The hardware would be minimalist—perhaps sleek, brushed nickel bar pulls or simple cup pulls. The overall aesthetic is understated elegance, perfect for contemporary kitchens or bathrooms. The subtle color allows the clean lines of the cabinetry to be the focal point.
Style 2: Classic Shaker
Shaker-style doors, with their simple raised panels, offer timeless appeal. A warm, creamy white or a soft sage green would complement this style beautifully. Consider using antique brass or oil-rubbed bronze knobs and pulls for a touch of traditional charm. This design creates a welcoming and inviting atmosphere, suitable for both traditional and transitional spaces. The raised panels add visual interest without being overly ornate.
Style 3: Bold and Colorful
For a more dramatic look, consider a bold color palette. Imagine vibrant navy blue, deep emerald green, or even a sunny yellow. These strong colors make a statement and can be paired with either modern or traditional hardware depending on the overall design. High-gloss paint would amplify the color’s intensity. This style is perfect for adding personality and a pop of color to any room. Consider contrasting hardware, such as black or gold, to further enhance the bold aesthetic.
Project Planning and Timeline
Thorough planning is key to a successful project. This detailed plan Artikels the steps involved.
| Phase | Task | Timeline | Materials |
|---|---|---|---|
| Preparation | Remove cabinet doors and hardware | 1 day | Screwdriver, safety glasses |
| Clean and sand doors | 1 day | Sandpaper (various grits), tack cloth, cleaning solution | |
| Prime doors | 1 day | Primer, paintbrushes/roller | |
| Painting | Apply first coat of paint | 1 day | Paint, paintbrushes/roller |
| Apply second coat of paint | 1 day | Paint, paintbrushes/roller | |
| Finishing | Allow paint to cure completely | 2-3 days | N/A |
| Reinstall doors and hardware | 1 day | Screwdriver |
Note: This timeline is an estimate and may vary depending on the size of the project and drying times.
